Experts reveal how to contour in a chic way

Few beauty trends are as divisive as contouring – the art of enhancing your bone structure using shadow and light. There are those women who religiously approach the technique with paint-by-numbers precision, and others who are frankly terrified by the whole thing.
It seems that almost as quickly as it came to the forefront of the beauty industry, contouring has fallen out of favour, perhaps due to the fact that streaky cheekbones and a muddied nose doesn’t really look all that good in real life. Some things, it seems, are better left on Instagram (more specifically, on a perma-filtered Kardashian).
However, this season we’re seeing contouring in a whole new light. Done correctly, this age-old technique can be incredibly flattering, working to gently bring your bone structure to life without any tell-tale streaks or smudges.
Make-up artist Hannah Martin knows the face-framing appeal of a proper contour: “when done correctly contouring is amazing,” she says. “It can gently and beautifully shade the face to create soft angles that aren’t there otherwise. A well-blended nose contour, a subtly carved-out cheekbone and a warmed forehead can look really beautiful and unnoticeable when all edges have been blended well and flattering shades have been used.”
“It’s about enhancing what you have, not painting in graphic design,” adds MAC Global Senior Artist Dominic Skinner, who agrees that extreme contouring doesn’t look so good without the safety blanket of an Instagram filter.
“I am definitely seeing a move away from the deep, heavy contour,” he says. “Unless you’re going to be followed by a ring light the whole time, it doesn’t look good at all in real life.”
So, how to strike the perfect balance? All you need is a light hand and the expert tricks of the trade. Here, we reveal how to cheat your way to chiselled cheekbones and a subtly defined jawline with a few strategic strokes, whether you’re a nervous newcomer or a veritable pro.
We earn a commission for products purchased through some links in this article
The products
When it comes to finding the best contouring products, the million-dollar question is: cream or powder?
Martin sits firmly in the cream camp. “Personally I find a cream contour blends really easily into the skin and looks most natural," she says.
Indeed, a cream formula will ‘melt’ more seamlessly than a powder, and is simpler to amend if you go wrong. Even better, a cream is easier to top up during the day, without the risk of caking.
However, if you’re oily skinned, or simply don’t get on well with cream make-up, it may be worth trying a powder bronzer. Martin advises looking for a shade with cool undertones for the most natural result. (However, be wary of grey-toned 'contouring' powders, as these have the tendency to look ashy.)
According to Skinner, it’s more about matching your formula to that of your foundation. “I say there’s no difference in using cream or powder really, although it will depend on what you’ve applied underneath,” he says. “If you’ve used a powder foundation or set your base with a powder then go for the powder contour. It will apply a lot smoother. Whereas if you’ve used a liquid or cream foundation and are not setting it, a cream contour would be best."
The tools of the trade
Skinner and Martin both agree that the biggest key to contouring success is the tools you choose.
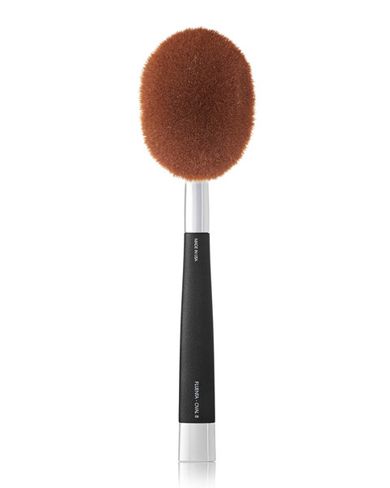
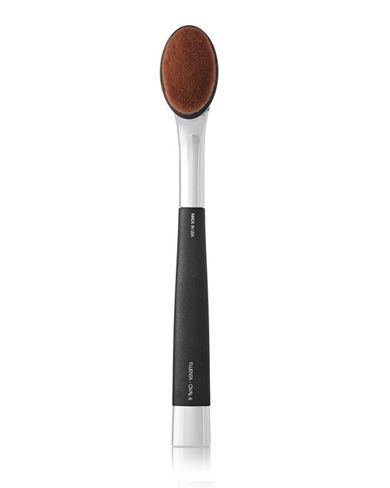
“When contouring at home, be sure to have the right tools to help you achieve the look easily and naturally,” advises Martin. “I actually really like the Artis brushes for applying cream contour as they’re not too big and you can get precise application of your colour. Big brushes will apply too much product to too great a surface area and you’ll lose the contrast that makes contouring work.”
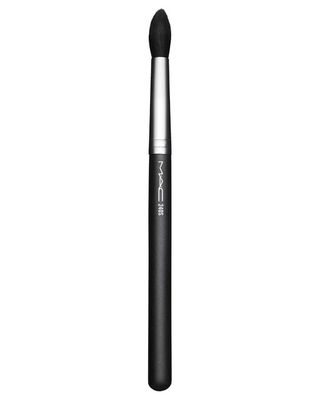
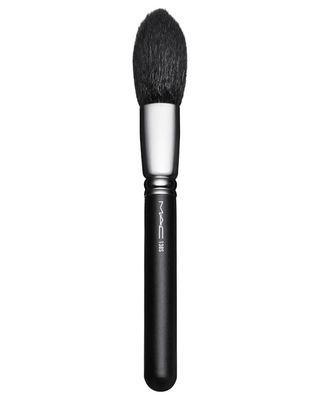
“Most people I see contouring use a brush far too big for the space that they need to contour, which is why it looks too much,” agrees Skinner. “I always start with a MAC 240S brush first as it’s just the right size to cut a shadow on the cheek, nose and temples, then I buff out with its larger cousin the MAC 138S. It’s a tag team made in contour heaven.”
The technique
When it comes to perfecting your technique, the key is to go lightly: you can always build up your shaded areas, but removing heavy-handed product is an altogether trickier affair.
“What you are looking to recreate in the face is the appearance of a shadow,” says Skinner. “Find that natural shadow colour that you can see under the jawline and use this as a guide for the shade that you should use as a contour.”
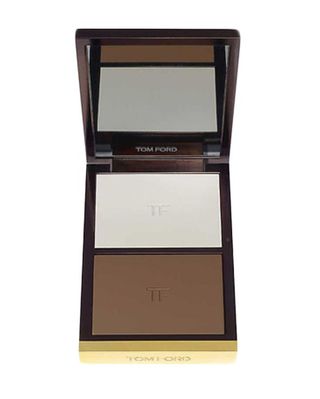
“After any base make-up is applied, apply your cream contour like Tom Ford Shade and Illuminate or Huda Beauty’s Tan-Tour under your cheekbones, along the top of your hair line, jaw line and either side of the nose (if you wish). Then, blend away any edges either with a brush or sponge. Finally, set with powder," says Martin.
Another thing to consider is the lighting in your room: contouring must be applied in a well-lit area. "What's more, when blending be sure to check your face from all angles – what looks great head-on might not be perfectly blended along the side of your face," says Martin.
If you're puzzled as to where your contour product should be placed, follow Skinner's foolproof tip. "Lay your brush from the top of your ear down to the corner of your mouth. This is the perfect placement for any contour application," he says. "Secondly, brush down from the top of the ear in one downwards motion – it will always look shadowy. And lastly, start soft and start small. Build it up slowly."
So, how can you tell if you've mastered the real-life contour? "When I’m backstage I aim for a look that reads 'is it contour?'. If you can't make out if it is or not, then you’ve got just enough," says Skinner.


